To understand this tutorial better. Read this section
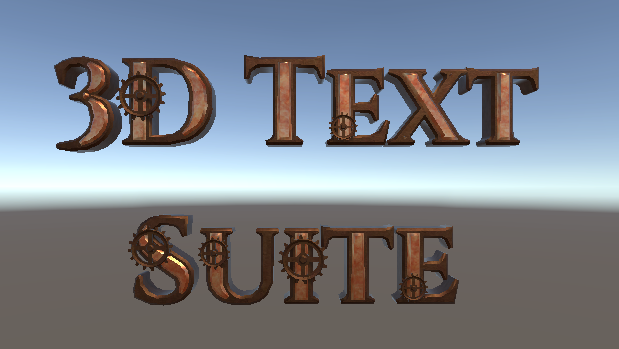
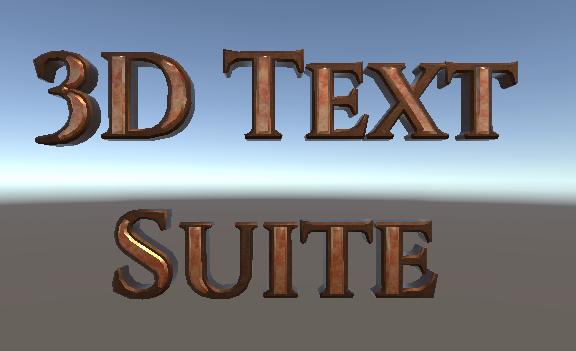
In this tutorial we will create this font:
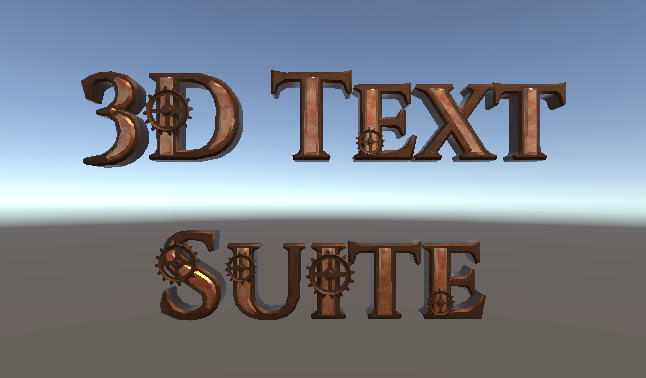
the materials and prefabs for it, as well as the font itself, are located in Extras/Font Packages/Themed/Steam Punk
Create the basic Offset Element:
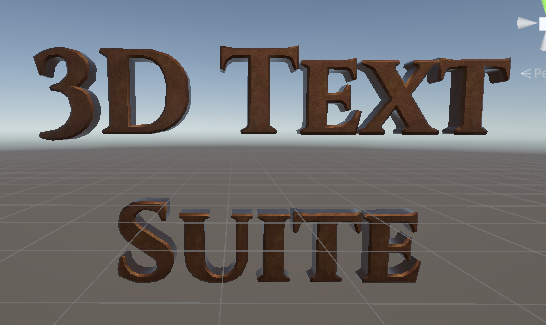
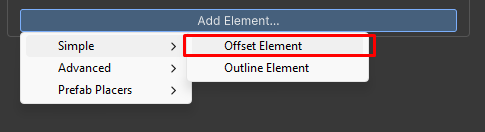
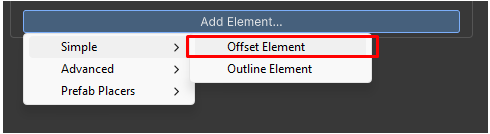
Go to add element and add a new offset element:
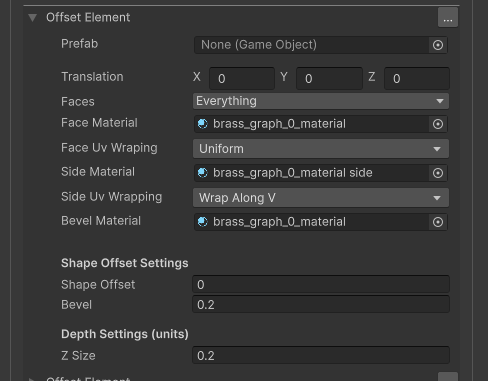
Assign the materials and parameters until the text look like the image above:
Create the oxydized part of the font
Add a new offset element
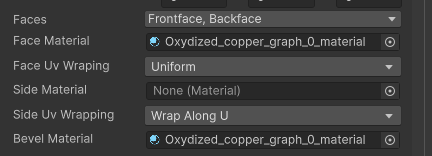
Assign the material to the created offset. Select the front face and back face only (we don’t need to render the sides for this offset, they are hidden anyway)
Set the offset and bevel to these values
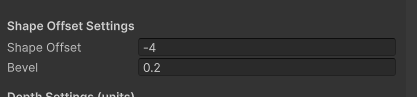
setting the offset to -4 will make this offset element thinner then the main offset element.
Set the z size to a value larger then 2 (the previous z size)

Result:
Placing cogwheels randomly
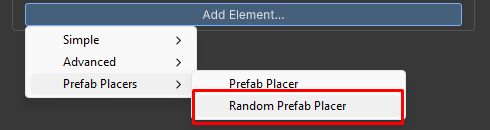
Add a new random prefab placer
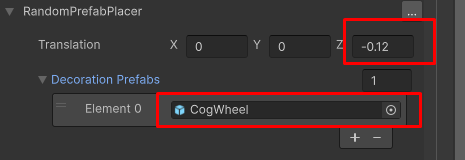
Assign the cog wheel prefab to the decoration prefabs, and set a translation. if no translation is set the cogwheel will be created inside the mesh, the translation places it just on top of the mesh surface
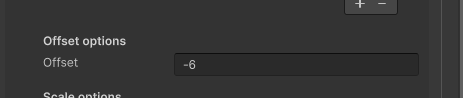
Set the offset to -6 . this will make the cogwheel spawn inside the contour of oxidized part of the font(which is created with offset -4)
Now set the rotation and scale:
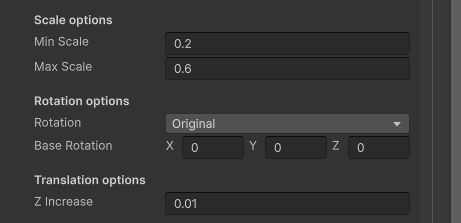
finally set the count range

This range is from -10 to 1. meaning most letters don’t have a cogwheel at all. when a new letter is created a random value is chosen between -10 to 1. a cog wheel will show only if this value is 1.
The final result