A very common task is to load xml/json data from a webpage or file into a graph. In this tutorial we will use the graph data filler to load data automatically into a graph. This feature is supported on Graph Charts , Bar Charts and Pie Charts. The Graph chart is covered in this document , you can take a look at the following articles as well : Bar Chart , Pie Chart
The scene from this tutorial is included in Chart And Graph/Tutorials/AutomaticDataFill
Have a url with data in it
Obtain the url of the xml or json file. For the sake of demonstration , we will be using the following Urls :
XML : https://bitsplash.io/JsonXML/GraphDataFiller.xml
JSON : https://bitsplash.io/JsonXML/GraphDataFiller.json
If you wish to load data from a local file , you can use the file:/// prefix :
file:///c:/MyPath/data.xml
Creating an autofill component
Add a new 2D/3D graph object to your scene:
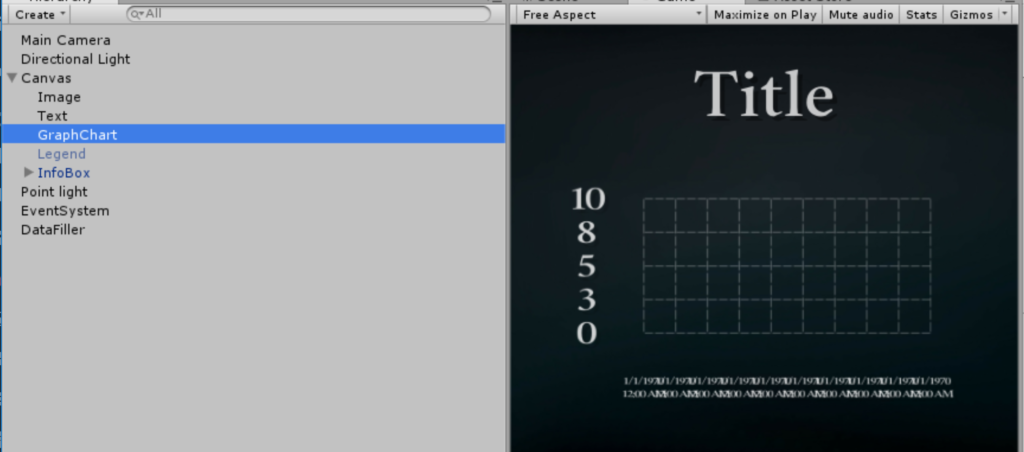
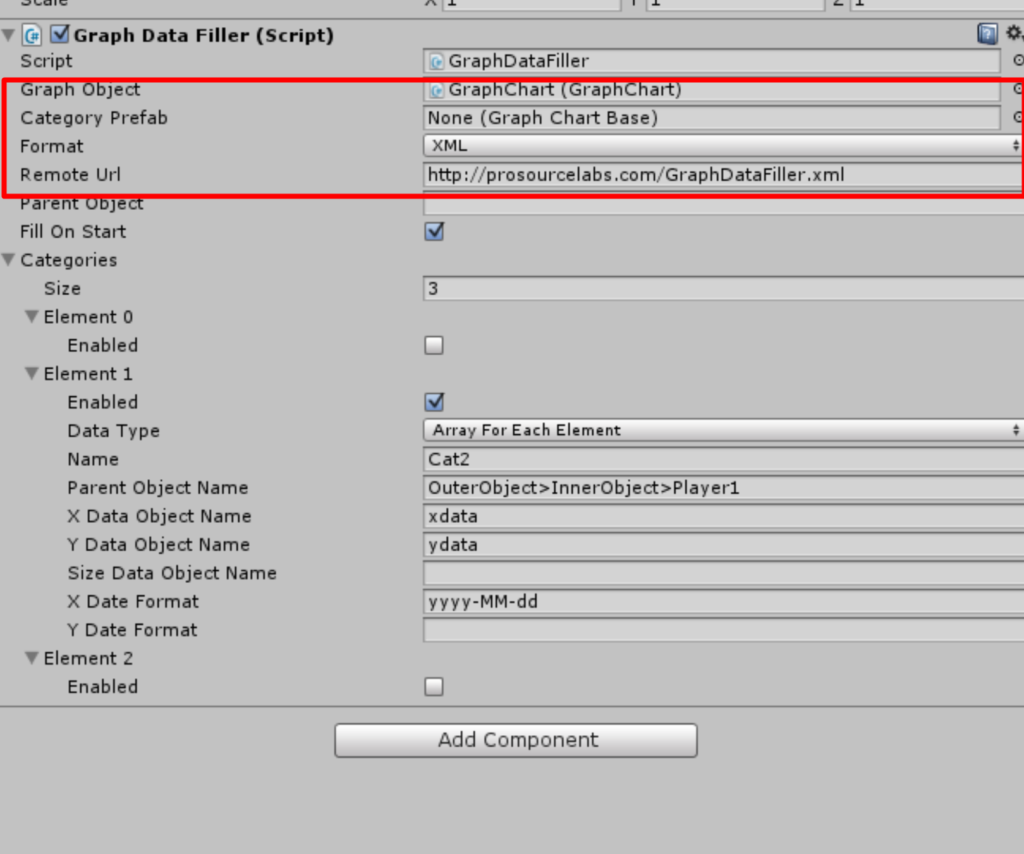
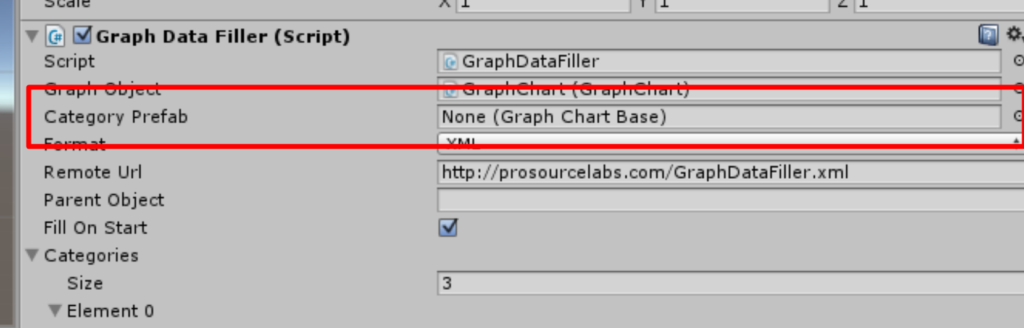
Create a new Object and add a GraphDataFiller component to it. Drag the graph object into the “Graph Object” Field. Select the Format of the data (XML/JSON) and enter a remote url
Configuring the Data Layout
There is no uniform way to define an xml/json graph data , Graph and Chart can handle some of the most common layouts used for this task. Here are 3 way to parse data automatically using Graph and Chart, Each is taken from the sample files. Make sure to explore all of them in order to understand which one fits your requirements. Also make sure to check out the Date Parsing example.
Addressing Objects Within the Data Filler
All the objects in the GraphDataFiller component can be addressed using the “>” operator. For example:
MainObject>GraphData>Category1 // finds the object along the path specified
You can also select array index :
MainObject>2>Category1 // this will locate the second index in MainObject array and then find Category 1
Setting up a style prefab
When categories are added by the GraphDataFiller , we would sometimes want to control their style and settings. This can be done by create a style prefab. You can see the default style prefabs in the resources folder of your project:
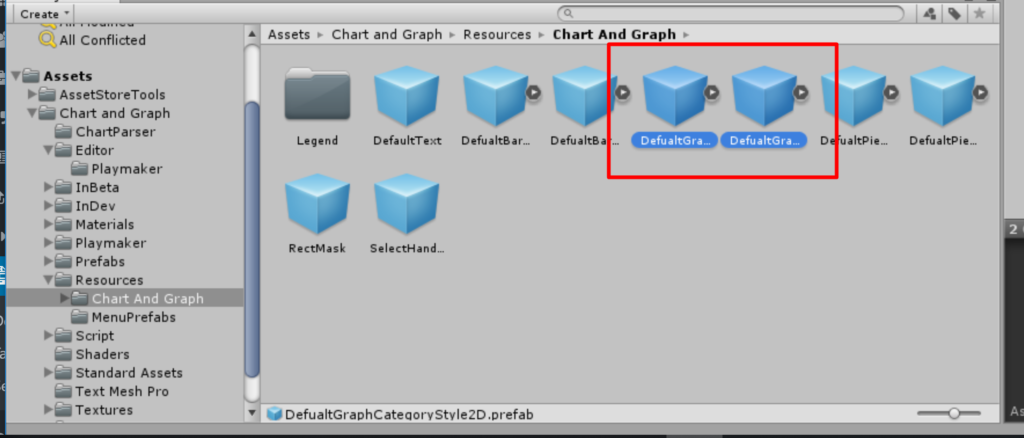
If you wish to create your own category prefab , you can simply duplicate them and edit their categories as you wish. Once you are done , drag the prefab into the data filler :
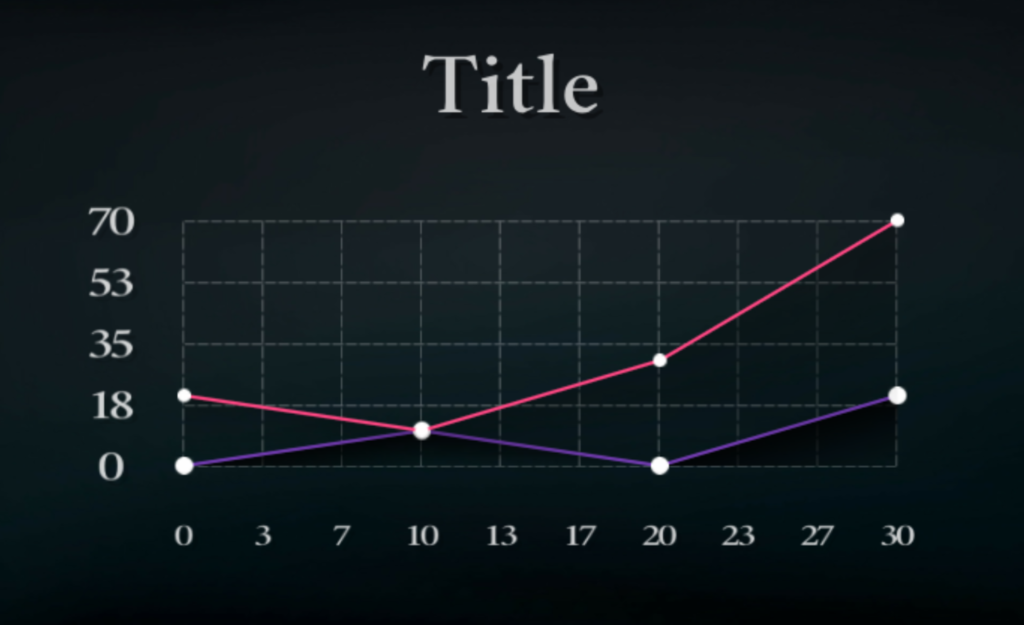
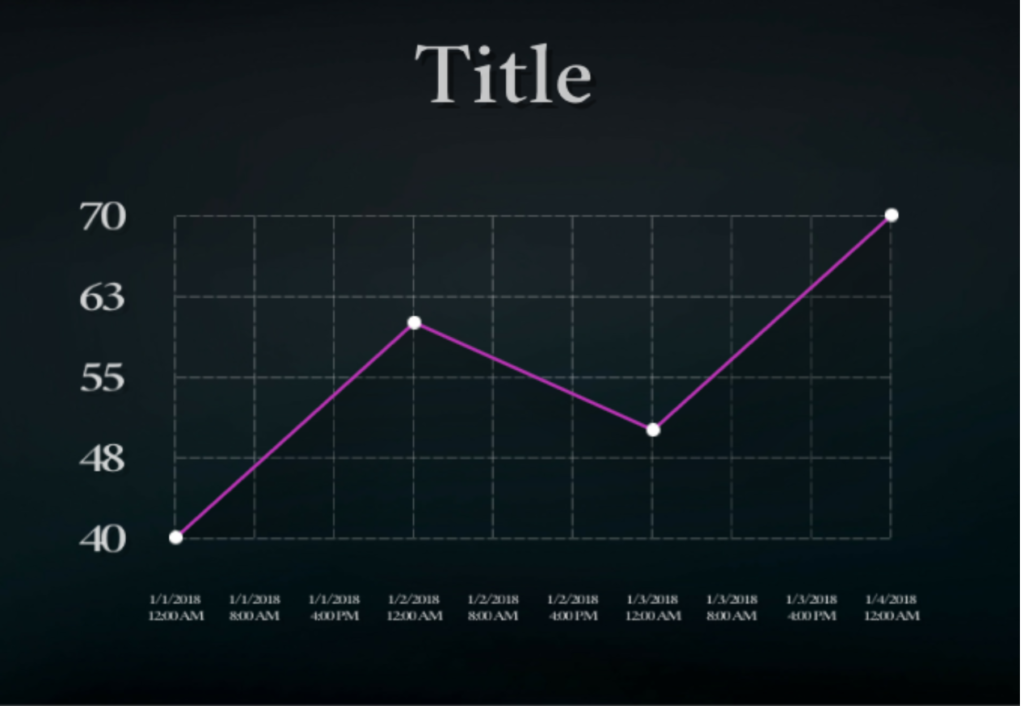
The Results